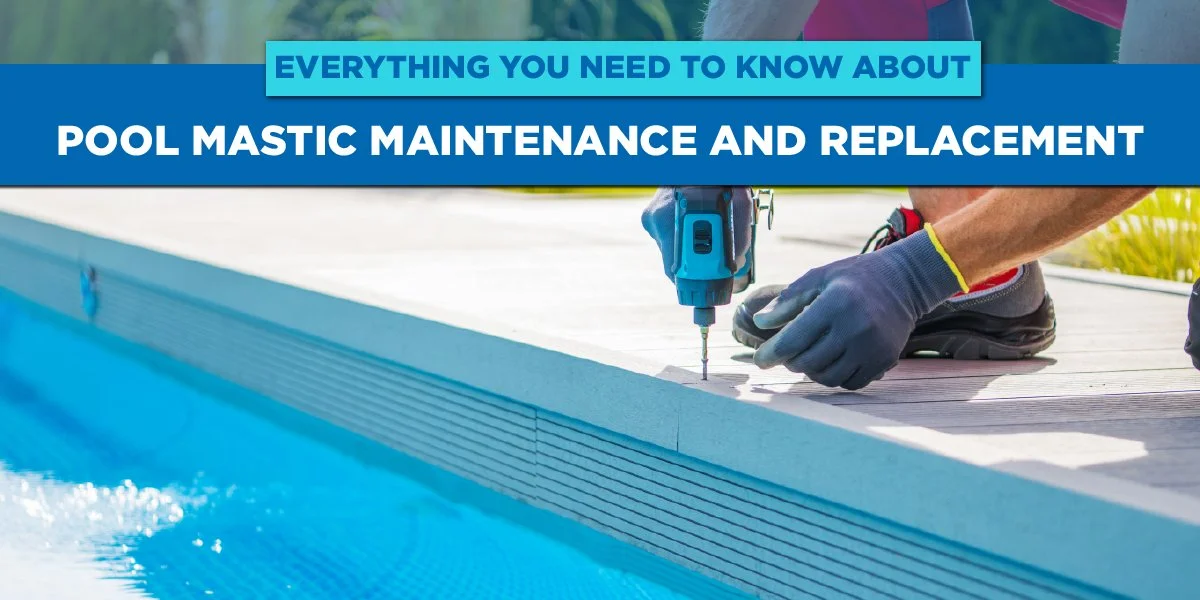
Everything You Need to Know About Pool Mastic Maintenance and Replacement
Pool mastic is an integral part of the pool. The only chance people haven't heard of it is if you're a new pool owner or someone who just bought a house with a pool.
Think of pool mastic as sort of a sealant that keeps the area around the pool from cracking and leaking.
The surprising part is that even though it is pivotal for pool maintenance, it is also one of the most overlooked parts of ownership.
Let's take a deeper look into what pool mastic is and how to get the most out of it.
Why Is Mastic Needed for Your Pool?
The simple answer to this is that mastic protects pools and prevents expensive repairs to them for as long as possible.
Mastic seals the gaps between the coping and the deck ensuring that there is no leakage. Professionally applied pool mastic prevents water leakage, especially during hot summers.
This can ease the pressure on your pool pump and help retain the chemical balance of your pool better.
It reduces the chances of dirt and debris building up which means you don't have to clean the area around your pool as often.
Mastic can significantly improve the aesthetics of the pool and help keep it looking good for longer.
Warning Signs Your Mastic Needs Attention
● Cracking and Gaps
When your pool mastic is wearing down, you will notice cracks and slight gaps appearing between the pool coping and the deck.
If you don't get this repaired immediately, the cracks and gaps will widen making repairs expensive and time-consuming.
● Loose Coping Stones
Another telltale sign of mastic that needs replacing is the stones becoming loose in your coping. These can also cause pooling of water around the coping that can lead to further degradation over time.
● Pooling Around The Surface
When mastics are compromised, you'll notice water pooling around the surface of the pool. This is because worn down or brittle mastic can crack causing water to build up below the surface.
The water can cause pavers to shift causing shifting which adversely affects the area around the pool.
● Mold or Mildew Growth
This is a sure sign that your mastic has deteriorated because mold and mildew are the last stages of water stagnation under your paver surface.
When water accumulates under the surface due to poor mastic, these undesirable agents begin to grow causing health and safety issues.
Pool Mastic Maintenance Tips
● Ensure that you check your pool mastic every 6 months to ensure that they are in good shape.
● These checks should also be made regularly during intense bouts of inclement weather like thunderstorms or extreme heat.
● Cleaning the mastic with a soft brush and a mild detergent that doesn't affect the surface is a great idea.
● Pressure washers should be avoided as they can wear down the mastic or cause chunks of it to fly off.
● Places that have sunny climates should opt for UV-resistant mastic for longer life.
● Ensure that you carry out inspections and fix smaller issues before they worsen over time.
DIY Guide to Mastic Replacement
If your mastic isn't heavily damaged, you could try to fix it yourself. But when you do this, you need to be sure of your skills with removing and replacing mastic.
As a professional pool services company, Refresh Pool urges you to assess your skills when carrying this out.
We do not recommend doing this by yourself even if you're remotely unsure about it. With that said, let's talk about what you should be doing.
● Tools and Materials You Need
The most important things that you need are a caulking gun, putty knife, pool-grade mastic, brushes, grinders, gloves, and safety goggles.
Additionally, having these help - a utility knife, solvent, and a backer rod.
● Removing Old Mastic
The first step is to remove the hardened or cracked mastic. You can do this with your putty knife or a utility knife. Stubborn residue should either be scraped off with a wire brush or a grinder.
You can also use the solvent to clean the joints. Let the area dry completely before you lay the new mastic.
● Applying New Mastic
Carefully load the new tube of mastic into the caulking gun and then snip the nozzle to match the width of the joint. Apply the mastic slowly ensuring there are no gaps or air pockets.
Smooth the mastic with a putty knife and remove the excess before it hardens. Ensure it remains dry during the curing process.
When You Should Call a Professional
There are situations when it can be impossible for DIY maintenance such as major coping or deck movement. Another issue is when large parts of the outer surface need to be replaced.
Or if you're a first-time pool owner and don't know how to handle proper repair procedures.
At Refresh Pool, we recommend calling us for pool mastic replacement and maintenance for a trouble-free experience!


